How to Sand Wood Floors
If you want to give your wooden flooring a new lease of life, you might want to learn how to sand wood floors. Sanding wooden floors has a host of benefits including extending the longevity of your wooden flooring, making it more comfortable and durable, giving it a new shine and helping to remove scratches from your wooden flooring.
Depending on the amount of foot traffic your wood floor receives and the aesthetic you want to go for, wood flooring should be occasionally sanded. If you want to achieve a modern look you may want to sand it more regularly, but it’s generally recommended you refinish your wood flooring every 10 years, as it tends to accumulate a lot of dirt, dust and scratches over that period of time.
Equipment You'll Need
- Nail punch
-
Sandpaper
-
Hammer
-
Vacuum Cleaner
-
Drum Sander
-
Edging Sander
-
Various grit sandpaper
-
Protective Equipment (Including gloves, face masks etc)
Most of this equipment will be available from your local DIY/hardware store, although the sanders will most likely need to be hired from a tool hire shop. A drum sander can be hired from about £30 per day, so if you work efficiently it doesn’t need to become an expensive process!
Searching for the perfect wood flooring?
Use our product finder to narrow down the options and find the best flooring for your project
Setting up the room
Setting up the room is the most important step when it comes to sanding your wooden floors, as doing so incorrectly can make it a longer and more difficult process. As well as having your protective equipment to hand, there are a few more things you need to do to ensure the sanding goes as smoothly as possible!
1. Empty the room of furniture, rugs and anything else which might get in the way whilst you’re sanding. If you don’t do this you won’t be able to easily sand the whole floor without having to stop and start every few minutes.
2. Punching or screwing down any protruding nails into your floor is quite important before you start sanding. In the best case scenario they can rip up the sandpaper as you go over them, and in the worst case they can damage the drum sander (which is an expensive mistake you don’t want to make!)
3. There’s no point sanding over rotten floorboards or obvious damage, so replace individual floorboards as necessary until you have a good base to work from. Sanding can make your floor look great again, but it can’t do miracles!
4. Finally, you’ll need to clean your wooden flooring by brushing over it and wiping it down to remove any loose dust or debris. You should wait for this to dry before you continue with the sanding process.
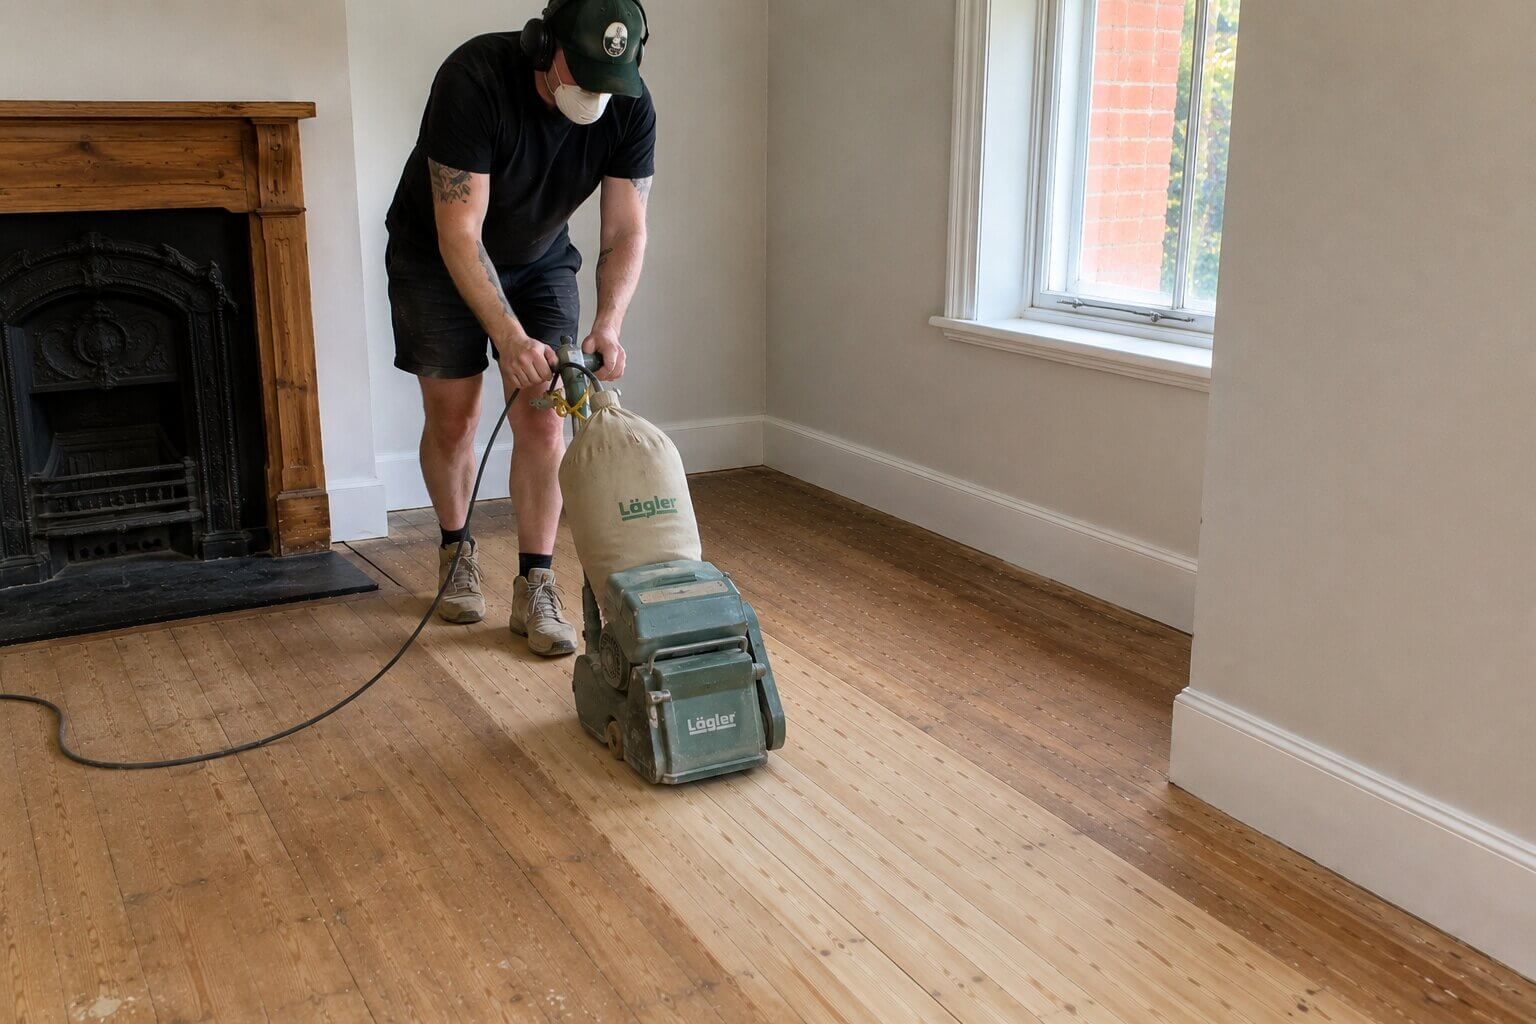
Sanding the floor
When it comes to actually sanding the floor, there are a few steps you should follow to ensure you get the cleanest finish possible.
1. Start by attaching the coarsest grit sandpaper you have to the drum sander. We’d recommend 24-40 grit sandpaper to start, as coarse sandpaper can remove the top layers of varnish and stain which is necessary to give your wood flooring that brand new look.
2. Always sand with the grain of the wood, as this avoids obvious marks and scratches which can leave your floor looking worse than when you began. Sanding with the wood grain is not only recommended, but a necessity for a smooth finish!
3. Although you can sand in whatever pattern suits you, it’s important to keep track where you’ve been over and where you still need to sand, as spending too much time over one area can cause excessive wear and make it uneven compared to the rest of the floor.
4. When you’ve finished sanding over the entire floor with the coarse sandpaper, (not forgetting the edges,) you can switch to using finer sandpaper. For the best finish, work up in smaller increments from your coarsest sandpaper to 80 grit and finishing up with something around 120 grit sandpaper. By doing this, you achieve the smoothest finish possible!
5. Switch sandpaper regularly. By trying to use one piece of sandpaper for too long, you can actually end up doing more harm than good, so don’t be stingy and swap regularly.
Top Tip: When you purchase your sandpaper keep the edging sander in mind: it’ll use as much as the drum sander so don’t underestimate how much you need!
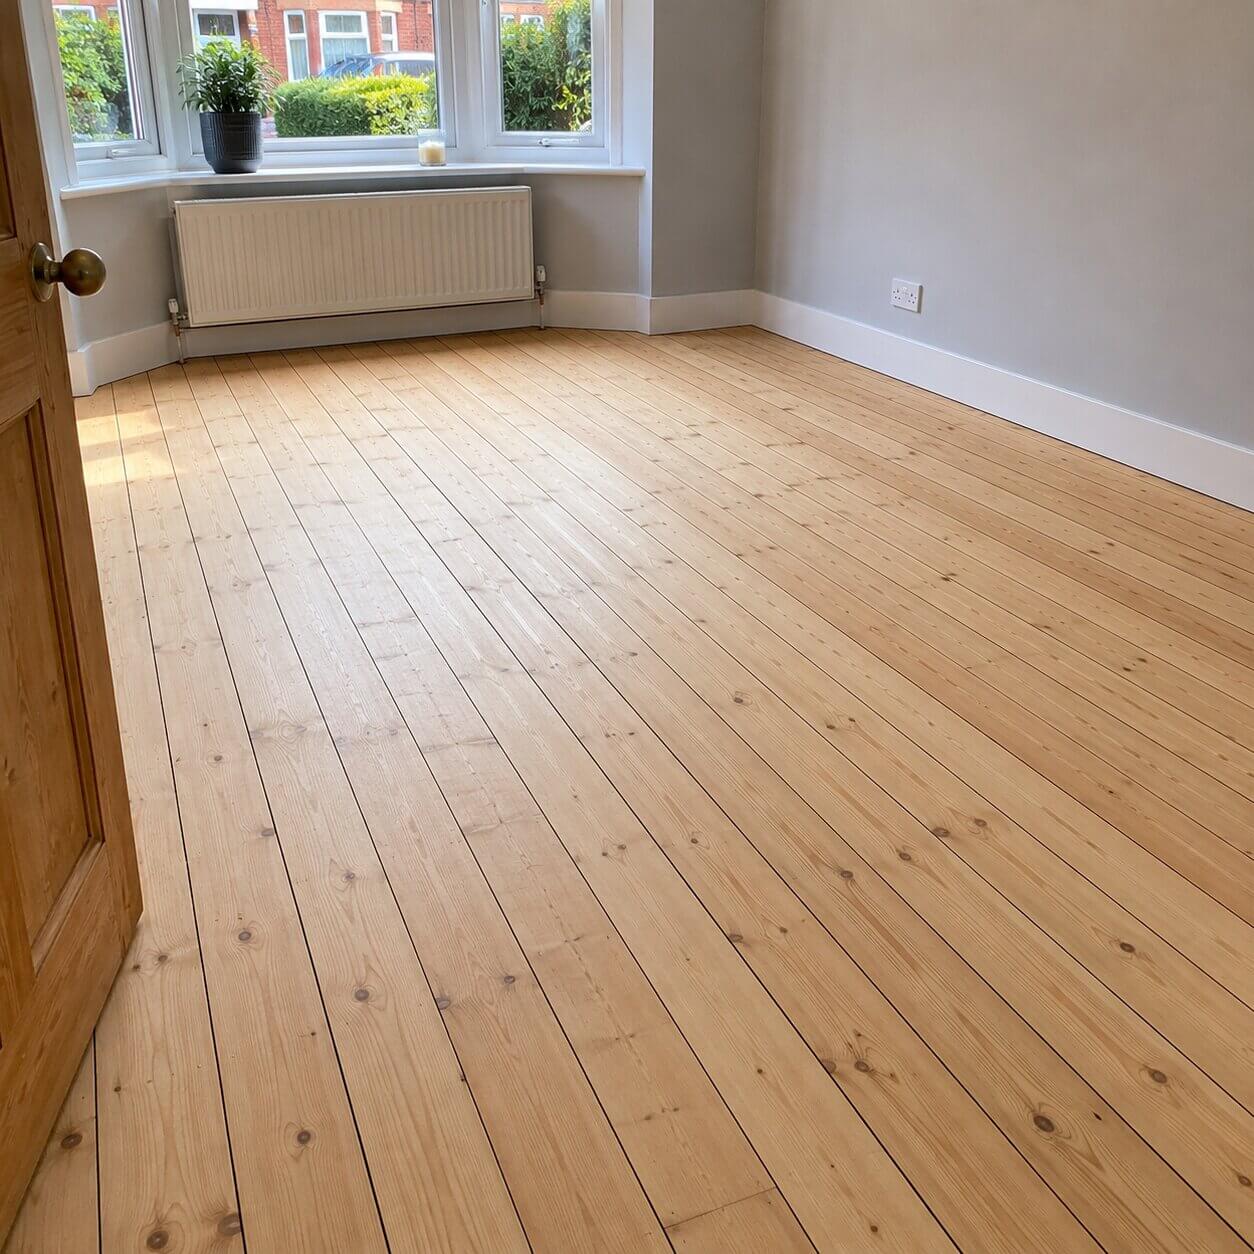
Once you’ve finished sanding your wood flooring, you should refinish it with whatever coating it had on it originally, usually varnish or some other sealant. If you want an extra finish, you can also optionally paint your wood flooring although this isn’t necessary.
As with anything, when it comes to sanding your wooden flooring, you should always consult a professional first if you’re not comfortable with doing it yourself or want some expert advice before taking on the task. You can always hire a professional to do the whole job for you, but this will end up being much more expensive than doing it yourself.
If you’re looking to invest in some wood flooring, take a look at our wood flooring buyers guide to learn about different types of wooden flooring and other tips and tricks!